So I was looking through my blog and realized that I started it after pumpkin roll season!
I'm going to Bunco this Friday (unless we don't have enough people) and I'm going to be making that... So I'll have to show my step-by-step! (I think I actually already have pics of this)
Also, I was doing the whole project thing, in reality I probably succeeded in doing the projects, I just didn't blog about them. Which I've admitted I'm horrible at keeping up with.
This month is super busy!
I'll be making cupcakes the following weekend for my niece & nephew's birthday party. The day before that I'm going to an adult's Birthday party. And the weekend after (well not quite) I head to California! (Disneyland)
Plus work in between.
I had to bow-out of some stuff just so I wouldn't over-do it before the long drive!
I made another snowman. This time I put the stencil all the way to the bottom (so that I don't cut the bottom of the book, it remains flat...) I'll update the last post!
Tuesday, October 11, 2011
Friday, October 7, 2011
Book Snowman

Summers over (thank goodness) and now I'm in a crafty mood again!
I found this book pumpkin tutorial on pinterest from Craftberry Bush and promptly headed to pick up some books with my mom so we could try it out.
It ended up that I enjoyed it much more than her.
I made my first three, boy did my hand hurt after that!
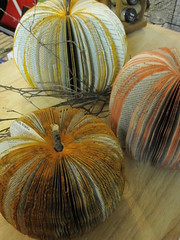
Then my neighbor asked me to make her some and gave me two books. I whipped out the dremel for those!


And even with the burnt edges they looked super cute.
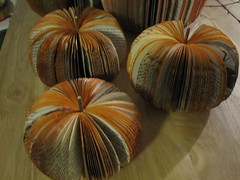
I also made mini ones!
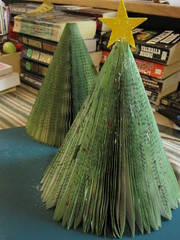
I then had the idea to make trees...
and finally, today while browsing pinterest and seeing them over and over I had the idea of a snowman!
Book Snowman
Materials:
- book (more pages=fuller end result)
- scissors
- card board
- xacto knife (possibly a box cutter)
- glue gun (or other glue if you're more patient - I am not.)
- stick/dowel
- white paint + water
- paint brush
- scrap paper for had
- scrap fabric for scarf
- tiny piece of paper for nose
- buttons
First you'll cut out your snowman shape, I used to circular things and traced half of them onto the cardboard, then cut it out
Remove the cover of the book and hold the cardboard near the spine and trace with your xacto knife
(Update: I made a 2nd snowman and cut the bottom of the cardboard template flat and put that against the bottom of the book, so when you cut you're only cutting into the spine of the book once, leaving a flat bottom)
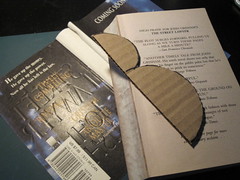
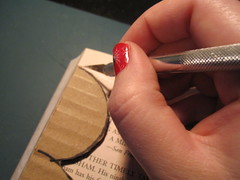
After I've got through a few pages I remove the cardboard and just use the lines I've already made.
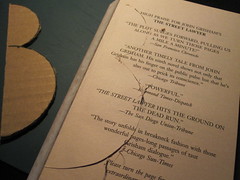
When you get a good amount of your knife in there you'll be able to remove some of the excess.
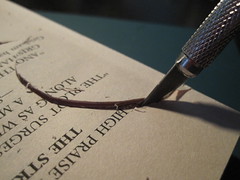
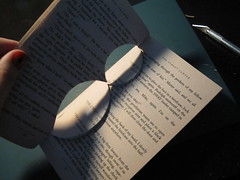
Keep going!


It can start to get harder because the previously cut stuff getting in your way.

So I move some of it over (being careful not to fold too hard and snap the spine)
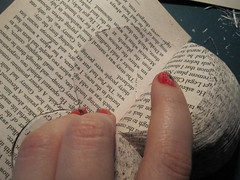
almost there!
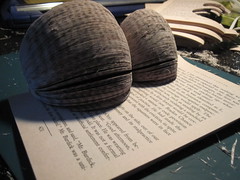
The cutting is done! Now youll want to go through and crease the spine so that itll flare out nicely. Youll then notice that the front and the back of the book doesnt match!
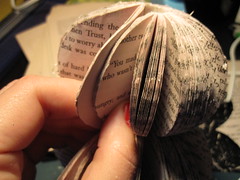
Thats OK, its the back of the snowman anyway.
Now for the assembly
If your books spine has weak spots and is splitting like this:
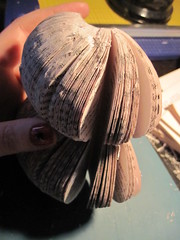
you can run a line of glue down the inside and hold it closed til dry (this is why I use the hot glue gun)


One thing I hadn't thought about until I was done was that I didn't make the bottom flat! So I corrected that (this was my first snowman so you get to see my mistakes too)

Now for the paint...
I wandered around my house for a while because I don't actually have paint. I used food coloring for the pumpkins and trees.
Then *bing* I remembered my friend had left a whole gallon of white paint at my house for a project I helped him with (over a year ago!)
I put some in a container and mixed it with water. You want to paint to show, but not make the pages stick.


I put quite a few layers on, fanning out the pages in between. (I didn't let them dry, just added to it)
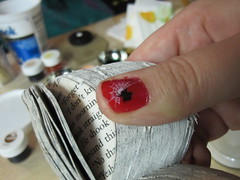
Time for the stick, this helps with support. When you bend the book around the stick it should just fit the stick.
Glue the spine and one of the pages.
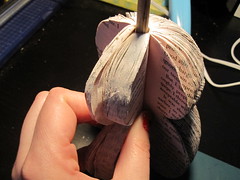
Now you'll notice the back has a lot of gapping. I use the same idea as before where I run some glue along the inside. This helps with the major gapping.
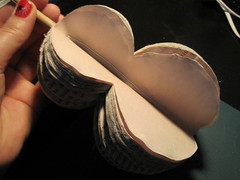
Accessorizing!
I used two circles and a strip for the hat.
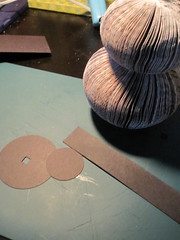
(the hole in the big circle is so it fits through the stick - I did not glue the hat to the snowman)
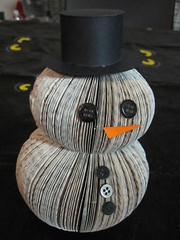
I added eyes, buttons, and a nose... but still felt like something was missing...
A scarf!
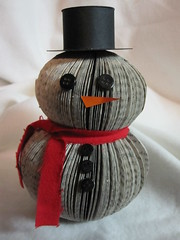
And there he is folks!
Subscribe to:
Comments (Atom)


