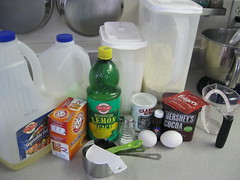
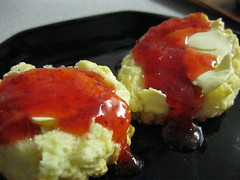
I made biscuits for the first time in my life the other day (minus helping mom when I was a wee one). I find this very strange since I love baking... and I love biscuits!
I found a super easy recipe during my online food hunting at '
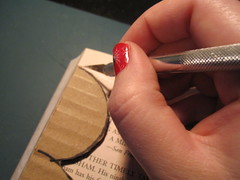
and now for something completely delicious'. It took about 5 minutes to prepare (partly thanks to the butter moosher my mom gave me - its actually almost the same one as in the pic of that blog) then like 10 minutes to bake.
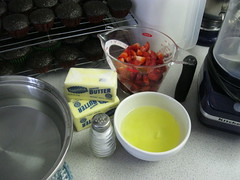
I made mine a bit smaller and ended up with 12, I also did the milk + lemon thing since I almost never have buttermilk on hand.
mmmmm - topped with home made strawberry jam from a friend.
And now for the
Papa Haydn portion!
This was mom and my 2nd stop for our Treat Tasting. I already knew one treat I liked at Papa Haydn's, but I hadnt actually tried anything else.
They also serve food so when we got there we were very nicely greeted to be seated but let them know we were only on a mission for the treats!
The guy behind the nom case was very pleasant and patient. We looked at everything. One thing I LOVE is that the treats in the display case are the ones they serve, so most of the time they are already cut into so you get to see all the inner goodness.
I asked if I could take a picture and he said 'of course!' It was pretty sunny so theres some glare. The treat we decided on isnt in the picture because just as we made up our minds another person ordered it so he had already removed it.

All the goodies have little name-tags with the price on them.
We decided on:
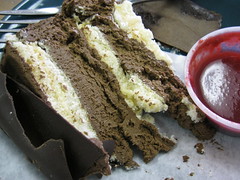
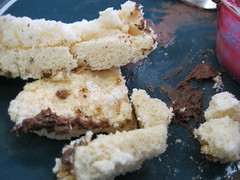
Autumn Meringue
Swiss meringues layered with rich chocolate mousse and pot de creme, wrapped in ribbons of chocolate.
 (image from their website)
The grading was hard... because I already have love for another one of their treats which I'll mention later...
So I gave it a B
It tasted great! The mousse was a wonderful smooth texture and the meringue (I only like the crunchy kind) was ACE. I dont know if I wasnt feeling like chocolate or if my other love was intruding in my taste buds. So I just couldnt give it an A. (plus I gotta give room for future sweets!)
My favorite part was the meringue... so I saved most of it for the end!
mmmm
Papa Haydn's gets an A+
The setup is perfect (I basically already mentioned all the good stuff)
I do realize that I'll probably have to recap when I have quite a few and may have to re-grade! Thinking back I dont know if I would still give Piece of Cake a C-!
Maybe I'll re-review in clumps of 5 and assess in my afterthought and other experiences.
I also see I didnt give pricing, so I'm adding that now
Piece of cake: $5.75
Papa Haydn: $8.00
Mom and I are splitting all the treats we get (if possible) so we are actually only spending 1/2 of whats listed.
My Papa Haydn love....
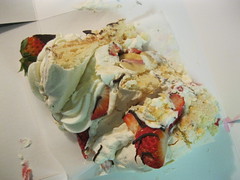
Boccone Dolce Swiss meringues drizzled with semi-sweet chocolate, layered with fresh fruit and chantilly cream.
 (image from their website)
When we walked in I didnt see it... then as I said "its not here!" it was put back into the case *phew!*

Mom and I had already decided a slice was going home with each of us... how could we go and NOT get one?!
Its not always the same as they use fresh fruit so it goes by what is available. This time (I havent actually eaten it yet I just nibbled a few bits and took pictures) it looks like theres banana and strawberry.
This one gets an A+ every time and is also $8 per slice. This is one I wont share!
may not be the prettiest treat... but that doesnt stop me!
 *sigh* ily
We havent decided where we'll go next, or when! But I'm excited! (ok some of that excitement may be from knowing I have amazingness in my fridge waiting to be consumed)